This is a simple tutorial how to create a nice glow light text effect in Gimp and i hope u enjoy it. If u like this tutorial,do leave me some comment. I'll appreciate it..thanks!
In this tutorial, I will show you how to create a light text effect using border options and some gaussian blur.
Open Gimp and create a new document. For this one i'll used 1024 x 768.Fill it with black color.
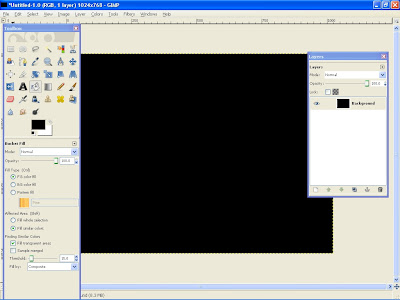
And then create a new layer and i named it as Cloud. Fill it with white. Go to Render>Clouds>Different Clouds. I use 4 for the Detail, Randomize and Tileable. Apply to the layer.

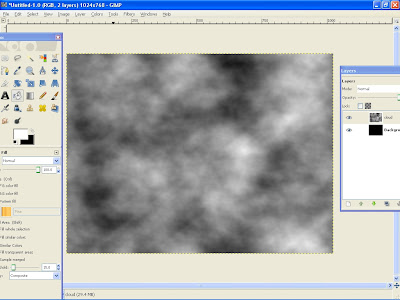
After that changes the layer mod to Overlay. Create another layer and named it gradient.
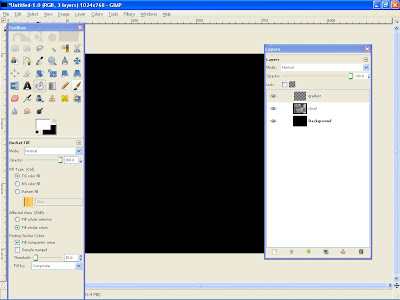
Using the blend tools select German flag smooth gradient color , 100 for the opacity and Linear for the shape. Apply the gradient to the layer.Change the layer mode to overlay.
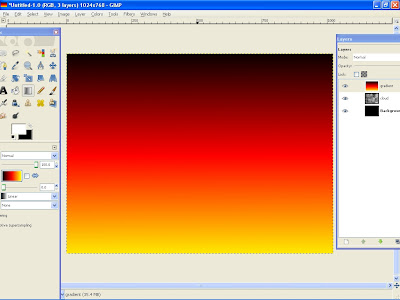
Then create another layer and i named it as color.Fill it with Red color. #ff2b01.

Then change the layer mod to overlay.

Next you need to create some text. Select the Type Tool, and type your text. For me, i type Starlight and the size of the text is 100 px.

Right now we will need to create a new layer behind the text layer because after this we will merge the text to become a resterized layer. Create a new layer.

merge down Starlight text

Right click at the text layer and select alpha to selection.
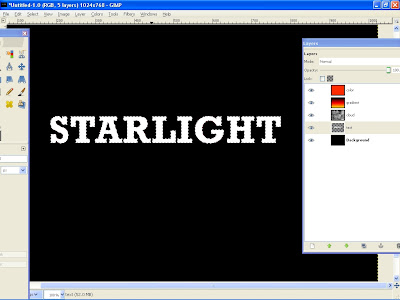
Then go to Select>Border and i use 2 pixels for the value.

Hide the original text layer and create a new layer. Select the new layer and i named it as Starlight layer.
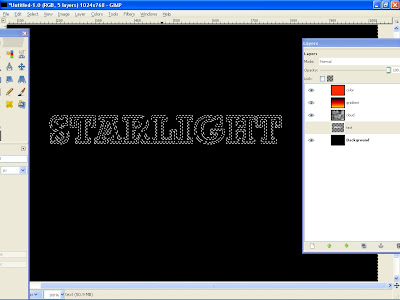
Go to edit> Fill with FG color. (make sure your foreground color is white)

You should get these.

The next step is apply a Gaussian Blur to Starlight layer. Use 2 pixels for the Horizontal and 2 pixels for the Vertical. Click OK. Then apply again the Gaussian blur with the same value. ( Ctrl+F )
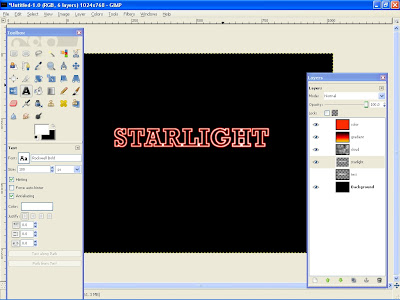
Then duplicate the starlight layer and and then apply again the gaussian blur. Use 5 pixels for the Horizontal and 5 pixels for the Vertical. Click OK.

Create a new layer and named it as light effect.Using the Ellipse tool draw a circle and fill it white color.
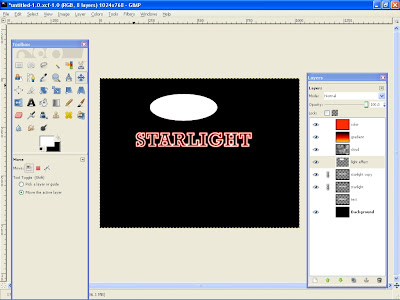
Go to Filters>Blur>Gaussian Blur. Use 90 pixels for the Horizontal and 90 pixels for the Vertical. Click OK.

Placed the light effect anywhere u like. I put it above the Starlight text. Then change the layer to Overlay.

Now i'll add some color to the black background. Create a new layer above the background layer and behind the text layer. Select blend tool,Use Red color , 100 for the opacity and radial for the shape. Apply the blend tool to the layer. Then low the layer opacity to 50.

Then add some depth to the design. Fill it with black and change the layer mode to overlay.

Final result ( Click to large view )
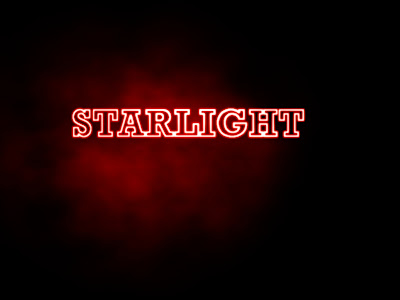
I also included the Xcf file.
Click here to download the Xcf file used for this tutorial
6 Responses to "Creating The Light Text Effect in Gimp"
Once again a nice tut, Starlight!
Thanks stanley..:)
I love ur blogspot... i'm not so good at gimp but with these tuts i am! Thanx! (nice tut btw!)
thanks..enjoy them..:)
Nice job guy! (Y)
thanx a lot bro!!!! luved it!!!!u rock!
Post a Comment
Type your comment here, I'll try my best, to reply!