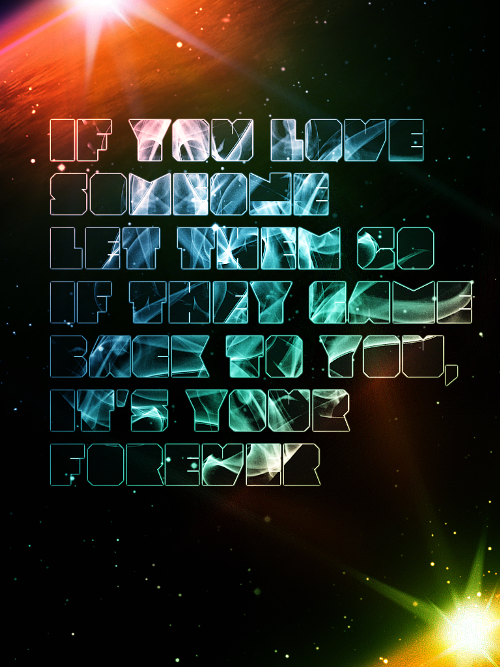
In this case study I will be showing how I created my new design called "retro space typo", check it out!.
p/s: made in Gimp 2.6, using MOD font and THIS stockphoto.
You can download the original source file HERE.
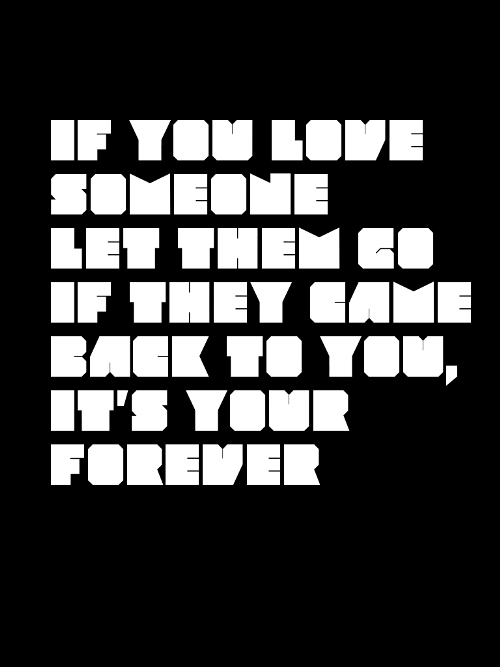
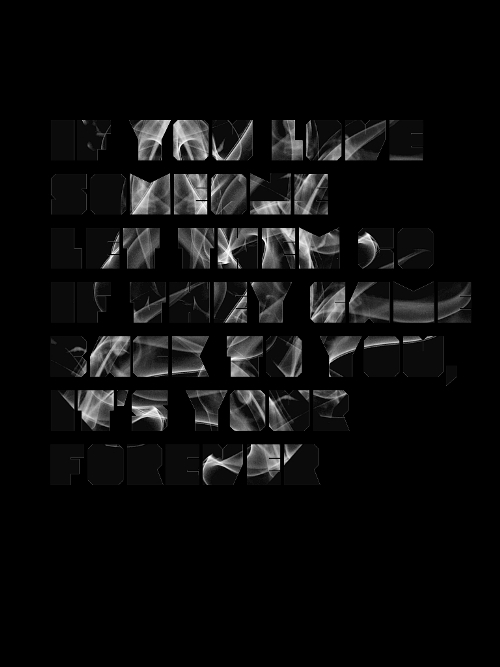
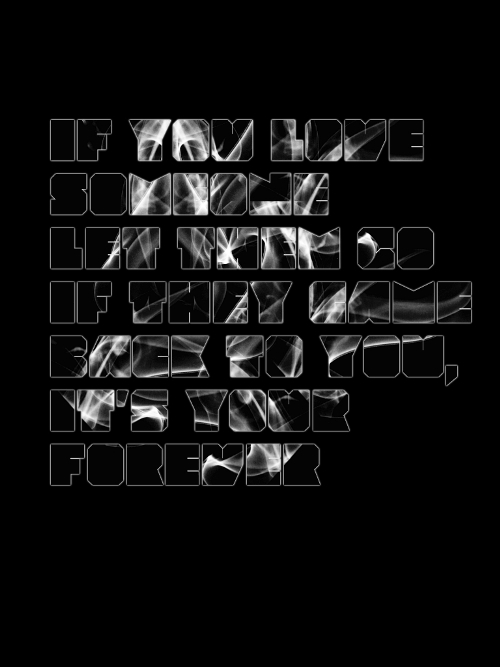
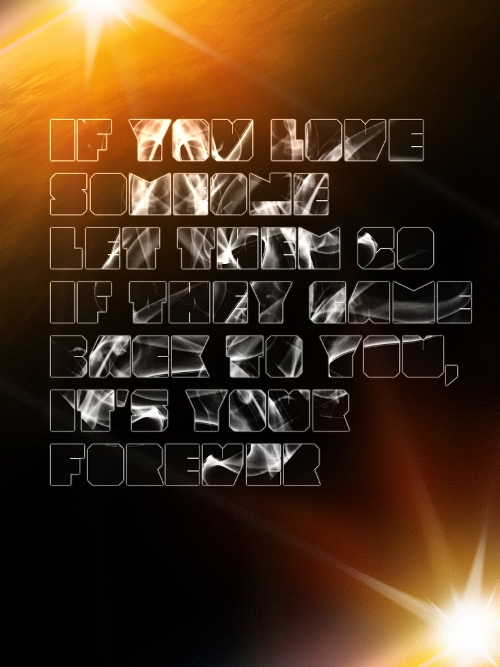
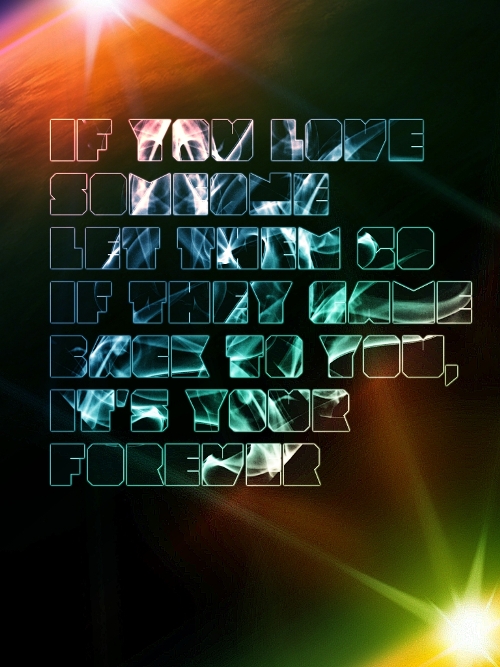
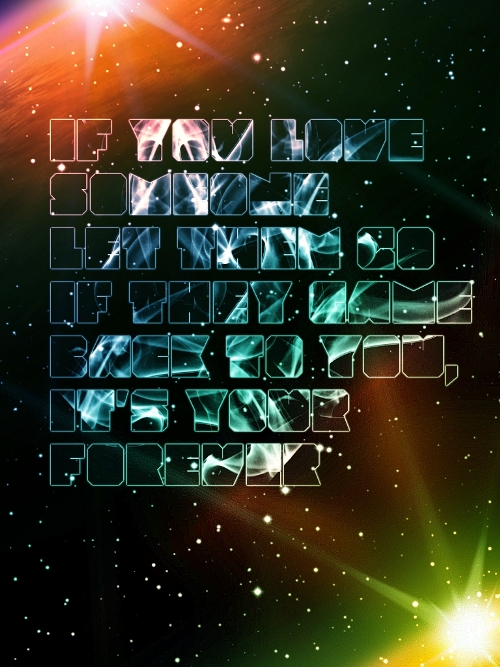
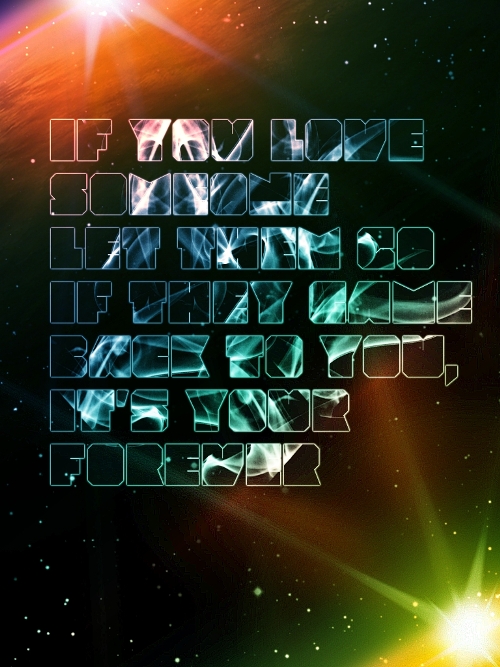
Final Result
Posted by Starlight86 | gimp, gimp tips, gimp tutorials
I have create a new section in my blog called Gimp Quck Tips and these little tips are meant to help some people that are learning Gimp. I hope you enjoy this new section and if you have some question regarding Gimp, you can leave a comment here, or send me a direct tweet.
Posted by Starlight86 | gimp tutorials
Following my series of Gimp tutorials, I will show you how to add HDR-like effect to a normal potrait picture in Gimp. I used a photo of a man that I found on sxc.hu. If you like this tutorial, leave a comment and i hope you enjoy it. Cheers!! :)
Before we start this tutorial,let's take a look at the original image and the final image below:
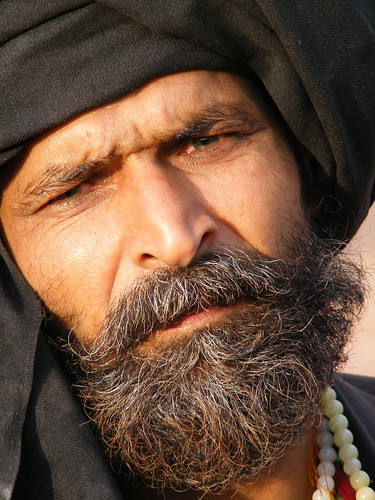
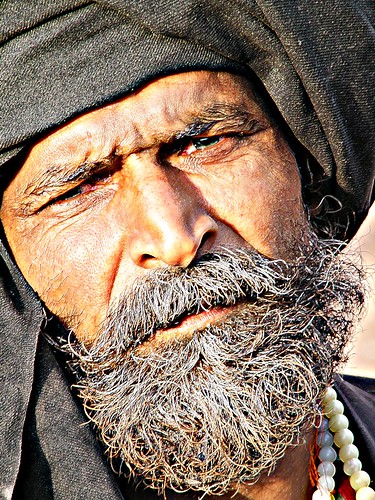
In this tutorial I will show you my technique to add HDR-like effect to a normal potrait photo. The technique used some basic Gimp filter like Unsharp Mask and Neon, and also playing with layer mode.


Posted by Starlight86 | gimp tips, gimp tutorials
This is a really nice Gimp video about creating brush in Gimp by Jackson. Have a look and don't forget to visit Jackson Youtube channel for more Gimp tutorials.
Posted by Starlight86 | gimp, gimp tutorials, inkscape, process
Inkscape is a Vector Graphics Editor, similar to Adobe Illustrator, that strives to be SVG Compliant, open source, responsive and extensible.



Posted by Starlight86 | gimp tutorials
This tutorial is all about creating an dark surreal using some free stock images from Deviant Art and i want to introduce some new trick - combining two great free software, Gimp and IrfanView. The composition is quite simple, but with a little inspiration you can create something really nice.
Before we start,you need to:
1. Install IrfanView.
2. Install IrfanView Plugin.
3. Install Topaz Adjust. Click HERE to download the trial version.
I want to point out that this tutorial is for intermediate Gimp user. I assumes you have some basic knowledge about how to cut image from stock picture,layers mask and the tools available.
p/s: You will have to cut some picture. It might take you some time to and there's no magic trick to getting this done fast.
You can view the final image preview below or larger view HERE.
Introduction
In this tutorial, i want to introduce Irfan View, one of the most awesome free graphic viewer in the net. IrfanView is a very fast, small, compact and innovative FREEWARE (for non-commercial use) graphic viewer for Windows 9x/ME/NT/2000/XP/2003/Vista. I'll combine Gimp and Irfan View, so this is one of my new experiment and i hope you enjoy this one.
Step 1
First, open up the grass image. We need an image with really nice grass. The image stock from wanderingsoul-stox is amazing and perfect for this piece.
Step 2
Now you are going to delete the sky. Select the upper part of the grass image. Do this using the Rectangular Select Tool. Add alpha selection to it. Then hit button Del to clear the part.
Save the image as "grass.png".
Step 4
Open new document. 1024 x 768 in potrait style.
Step 5
Next, i will use fantasy landscape bg 5 from joannastar-stock..This is the base image for this project. Click HERE to get the image. Then drag the image to the document.
Step 6
Import the grass image into the document.
Step 7
Next, retouch the grass and make sure the images blend in nicely. You need to erase upper part of the grass to make the transition between background and grass look more interesting.

Step 8
Now you need to import another image. I chose a castle picture from ElizaTibbits-Stock. Download it HERE. Before you import the image you will have to first cut the image.
After you finish cutting the castle image, position it into place.
Then, we will use layer mask to hide some part of the castle. Make sure to use soft black brush at the layer mask.
Step 9
Now I will add some adjustments to the image. Go to Color > Brightness and Contrast. I'll use value -19 for brightness and 5 for contrast.
Step 10
Next I'll use black and white: flock of birds stockphoto from Lost and Taken. You can download the image HERE. Move it into your document.
Reduce its size. Make the flock of bird picture little bit smaller.
Step 11
Then change the layer mode to multiply.
Step 12
Erase some part of the image.
Then, move the image to the left.
Step 13: ADDING MORE ELEMENT
Now we're going to begin the more tedious part. I have add many thing in the document to make it more interesting. It's depend on your on choices. Some people might say that it look crowd but i like this composition.
Please use your own image choices for this step..so i'll left the option for the image link. Otherwise, your result would look exactly like mine, which I don't think you want.
Step 14
Now you need to add the model. The image I used was photographed by *Katanaz-Stock. Cut the woman and save it as .png.
Step 15
Drag the woman picture into the document.
Step 16
Now you will add some adjustments to the image. Go to Color > Brightness and Contrast. I'll use value 28 for brightness and 12 for contrast.
Step 17
Duplicate the woman layer and change the layer mode to Overlay
Use layer mask to hide some part between the girl and the grass..
Step 18
After that,flatten the image. I'll save it as JPG. Close Gimp and the next step is i'll open the JPG in Irfan View.
Step 20
This step is one of the most important tricks in this tutorial.Now open the image in IrfanView.
Step 21
Go to Effect> Adobe 8BF Filters> Topaz Adjust.

use the Vibrance Effect and Clarify, these will make the image more interesting.

After that,save again as JPG. 
Step 22
Open again the image in Gimp. Desatured the image. Go to Color> Desature.
Step 23You will notice that our image is too dark. Now it's time to add some adjustments to the "background" layer to make it more lighter. Go to Color > Curves. Use the values in the pictures. Click for larger view.
Step 24
I want to add some color effect to this dark image. Select gradient tool, Radial for the shape, purple for the color and low the opacity to 50. Click the image for larger view.
Create new layer. Use the blend tool.
Step 25
Change the layer mode to Screen.
Create new layer and use other color like yellow, dont forget to change the layer mode to Screen.
Step 26
Next steps is create a new layer,and fill it with black.Go to Light and Shadow > Lens Flare.
Step 27
Put the lens Flare like the image below..Change the layer mod to Screen.You will notice that the layer is too bright, there is too much gray.
Step 28
So go to Colors>Levels. Then just change the Input Levels to 50, 1, 255.
Step 29
Duplicate the lens flare for another light effect.Put it somewhere you like..
Step 30 : Light Beam.
Create a new layer called Light Line-this is for the light beam. Use the Rectangle select tool to draw a rectangle.
Step 31
Select the Blend tool. Pick white colour and choose foreground color to transparent
Step 32
Draw gradient across your selection.
Step 33
Use layer mask to hide some part.
Step 34
Then select the Rotate tool. Then rotate the the light beam layer.
Step 35
Put it some where near the lens flare
Step 36
Change the layer mode to Overlay.
Step 37
Duplicate and place it where ever you want, use your imagination..i like to put the light beam like these..
Finish.
Thanks for reading this tutorial. If u like this tutorial,do leave me some comment. I'll appreciate it..Cheers.

