Here's my first Gimp Quick Tip for the blog. How to add a colored stroke around text! This can be used to add definition to text, and make it stand out more. So here's how to do it.
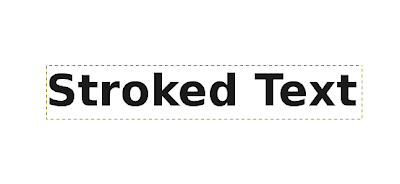
1. Add text to your document. A bolded font looks good with a stroke around it.
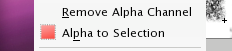
2. On the text layer, right click, and press "Alpha to Selection". This will create a selection around the text that will be used to create the stroke
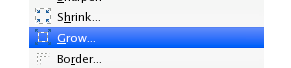
3. After the selection is made, go to Select>Grow. Chose your grow amount, and the selection will grow.
4. Create a new layer below the text layer, and fill the selection with the stroke color. Deselect and there you have it, your newly stroked text!

Hope this tip helped you, and don't forget to follow me on twitter at http://www.twitter.com/mattsomethin.


4 Responses to "Gimp Quick Tip: Adding Stroke to Text"
Awsome!!! Thanks helped alot
tq albino for posting this one :)
No problem, I got some more ideas planned,
Simple but usefull. Thanks.
Post a Comment
Type your comment here, I'll try my best, to reply!