This is not a tutorial, but i consider it as my experiment-process to backup my experimental work in Gimp.
This experiment is based on Fabio Sasso from ABDUZEEDO tutorial called Crazy Cool Vectors in Illustrator and Photoshop.
He has created a tutorial showing how to create that effect using Illustrator and Photoshop. You can see it HERE.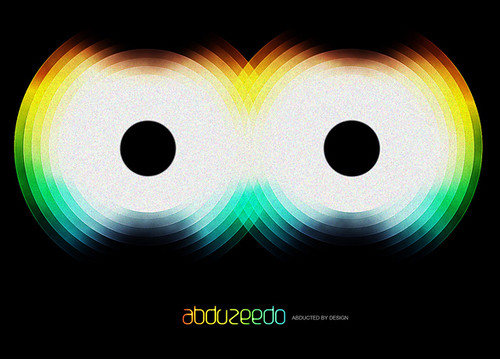
I try to made something like that in Gimp..and this is my result, I know that it does not look exactly as the result in Fabio tutorial,but it's pretty close..:)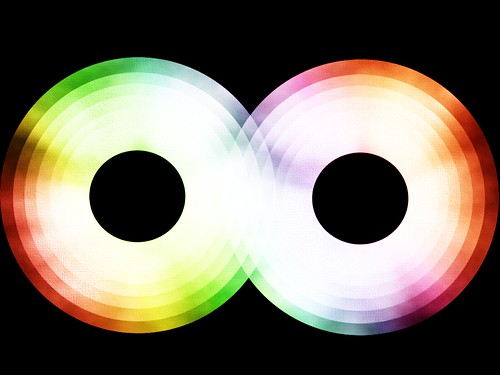
1. I have a black background layer and a white circle at the second layer.
Then, at the circle layer i apply Render>Clouds>Different Clouds.I use 4 for the Detail, Randomize and Tileable for the value.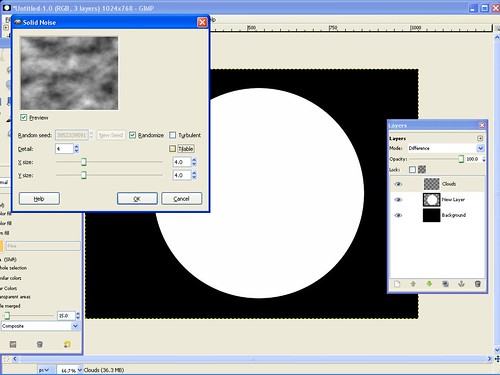
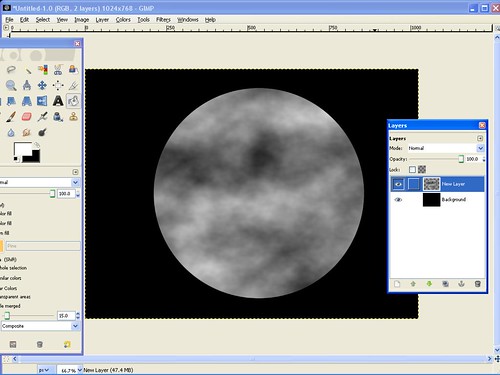
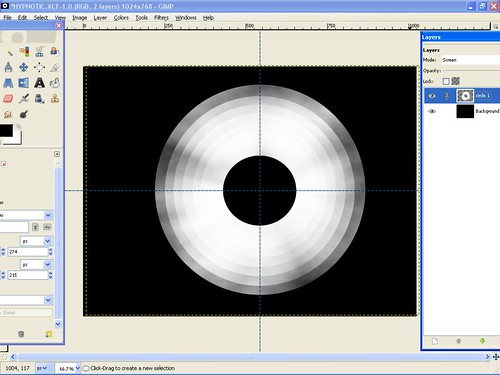
2. Then i duplicate the circle layer. I named it as circle 2. Using the Scale tool, i resize the duplicate layer a bit smaller and i change the layer mode to Screen.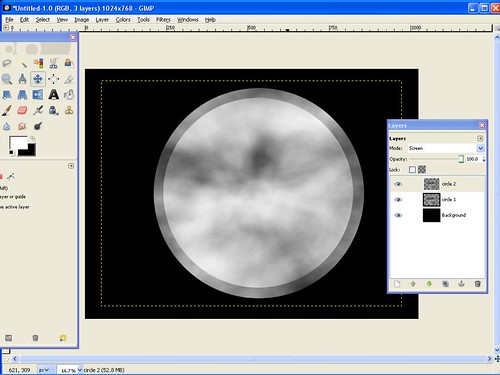
3. Then i just repeat what i did in the previous step to all the other circles. 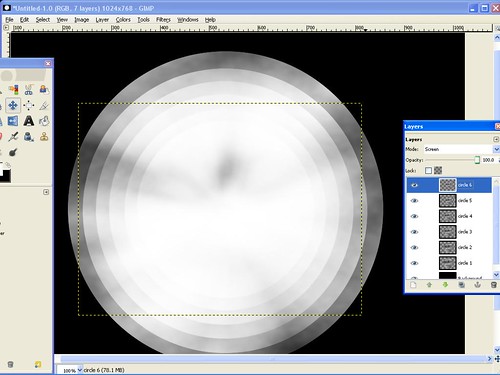
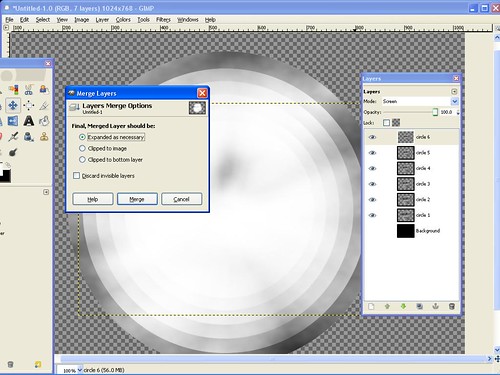
4. The next step is hide the black background and i merge visible the all the circle layer.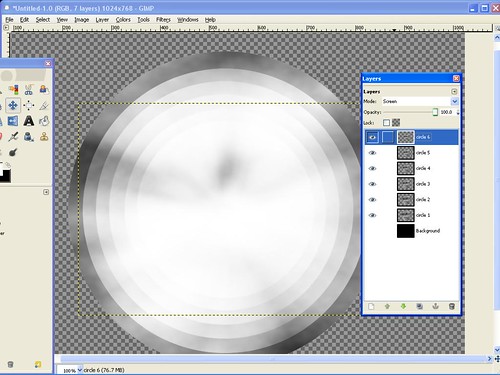
5. Then i create a circle and fill it with black for the color and align it in the center of the other circles. 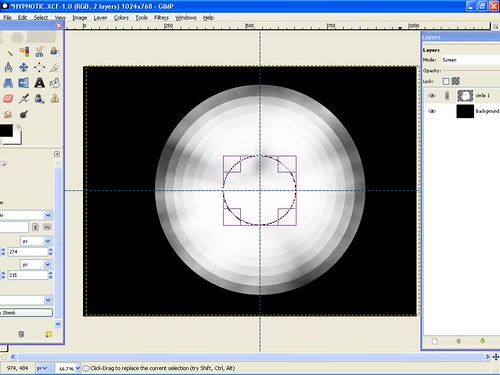
6. Colorize the circle
I created a new layer above the circle layer and i fill it with some gradient color. Change the Blend Mode to Overlay. Duplicate the circle and i change the layer mode to Screen and position the new group next to the other but let a part of it over the other circle. That will create a nice blend mode to the circle.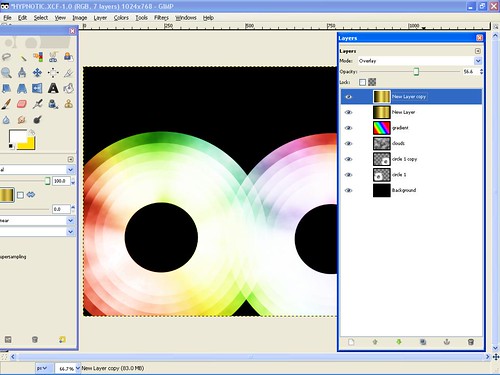
Result:
Some other result made by me using the same technique.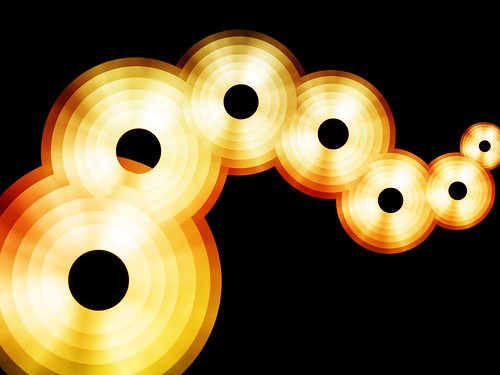

I've included the XCF file for you to use. Click HERE to download it.
Experiment: Circle
Posted by Starlight86 | process


1 Response to "Experiment: Circle"
Goodone starlight
Post a Comment
Type your comment here, I'll try my best, to reply!